动画设计实验
Background
matlab给我们提供了plot,ezplot,fplot,polar,bar,bar3,plot3,mesh,surf一系列绘图的办法,python也给我们matplotlib.pyplot库可以画各种各样的静态图形,可我们有的时候想展示曲线的运动情况,像放动画一样展现出来,甚至还想保存为gif或者mp4之类的文件,这就不得不提到我们今天的主题了:动画实验;
Content
matlab绘图基本算法
不像matplotlib中可以调用animation模块,matlab只能调用绘图的api来实现逐帧绘制;
绘制的基本思想是:
- 确定动画的画布;
- 确定动画的帧数;
- 清空当前的图形;
- 绘制当前帧的图形;
- 暂停一小会以免动画太快;
有了这些思想,在matlab就可以绘图了,不过想要利用python的库,还需要一些基本知识;
FuncAnimation基础介绍
animation 有个核心类: FuncAnimation ;
FuncAnimation(fig, func, frames, init_func, interval, blit)
fig: 绘制动图的画布名称这个参数通常由先前的
figure()函数创建;func: 回调函数更新新一帧的方式,这个函数返回当前帧的绘制对象,请注意返回值不只一个;
一般计算出新的坐标后,利用绘制对象的
set_data方法去更新它;frames: 动画的帧数参数常见值为
n:int,相当于range(n),但事实上也可以取值iterable,generator,None。init_func: 初始帧和
func类似,返回初始帧的绘制对象。interval: 帧长决定帧更新频率,单位:
msblit: 选择更新所有点,还是仅更新产生变化的点。
通过这些参数可以看到,基本和matlab手动实现所需要的准备工作是差不多的;
保存动图文件
在matlab中,一般将动画保存到.avi文件中,这是由matlab提供的接口决定的,一般方法如下:
obj=VidioWriter('test.avi'):产生VidioWriter对象,同时起一个名字open(obj):打开obj对象;writeVidio(obj,frame):将当前帧存到obj中;close(obj):关闭obj对象
而在python中,你只需要安装一些依赖项即可,如果用 FuncAnimation 生成的动图,注意参数fps–frames per second:
mp4:执行pip install ffmpeggif: 执行pip install Wand
1 | ani.save("test.mp4", fps=20, writer="ffmpeg") |
Example
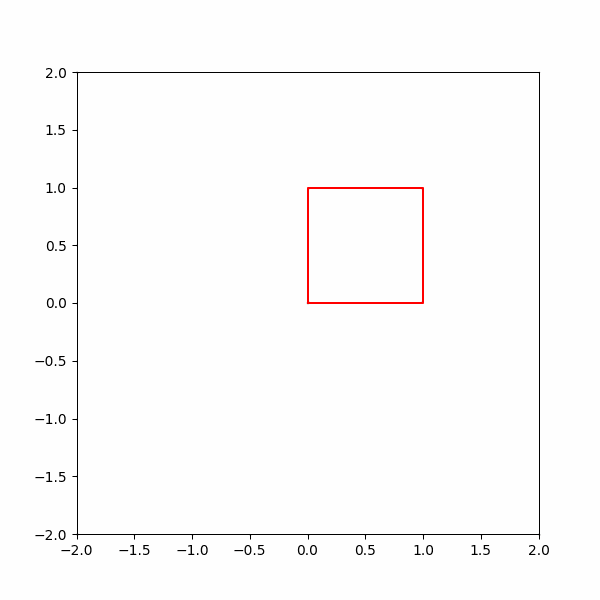
实现正方形旋转,保存文件;
我们知道,对于列向量$(x_0,y_0)^T$,逆时针旋转$\theta$角,得到新的向量$(x_1,y_1)^T=\begin{pmatrix}cos\theta&-sin\theta\sin\theta&cos\theta \end{pmatrix}(x_0,y_0)^T$,我们分别采用两种语言实现:
matlab:
1 | P=[0 1 1 0 0;0 0 1 1 0]; |
来看一下我们的test.avi(突然发现它在Typora里预览不了…)
python:
1 | import numpy as np |
Remark
又水了一篇…